WxGUI Vector Digitizer: Difference between revisions
Jump to navigation
Jump to search
(→Line) |
|||
| Line 28: | Line 28: | ||
=== Boundary === | === Boundary === | ||
[[Image:boundary-create.png]] | |||
Mouse buttons functionality: | |||
* Left | |||
** Add new vertex on given position | |||
* Right | |||
** Write out the new boundary with given number of vertices | |||
* Control+Left | |||
** Remove last added vertex from the boundary | |||
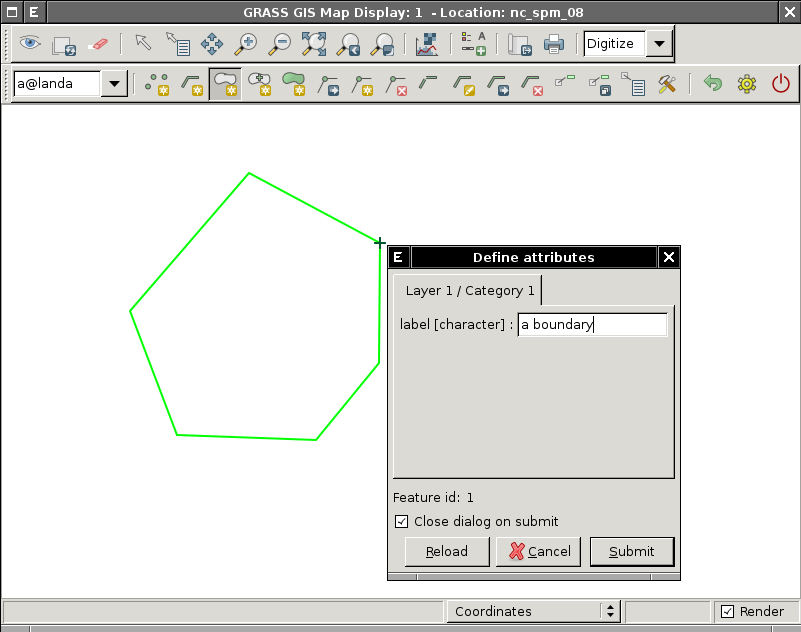
[[Image:wxgui-vdigit-add-boundary.png|thumb|center|400px|wxGUI vector digitizer - add new boundary and define it's attributes]] | |||
=== Centroid === | === Centroid === | ||
=== Area === | === Area === | ||
Revision as of 22:22, 3 February 2011
This page covers core functionality of wxGUI vector digitizer and also explains it's usage for newcomers.
Adding new features
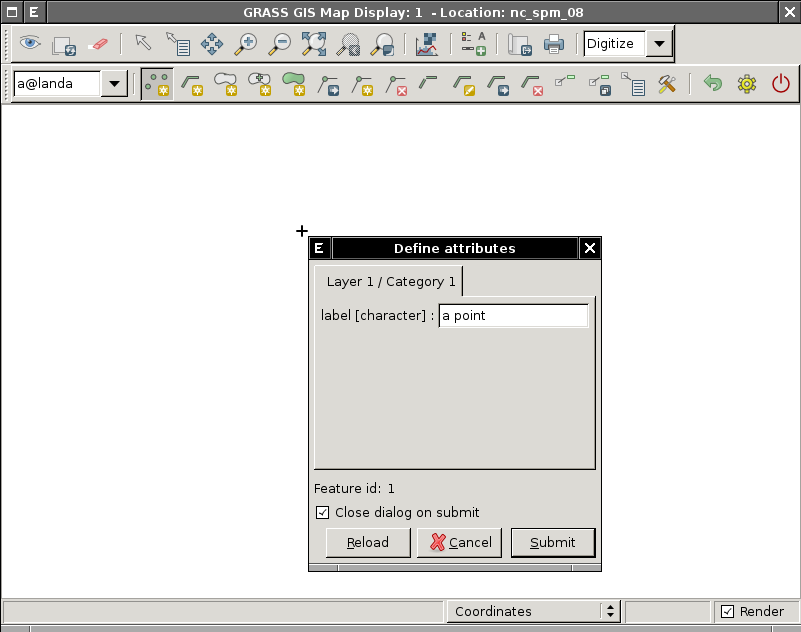
Point
Mouse buttons functionality:
- Left
- Add new point on given position

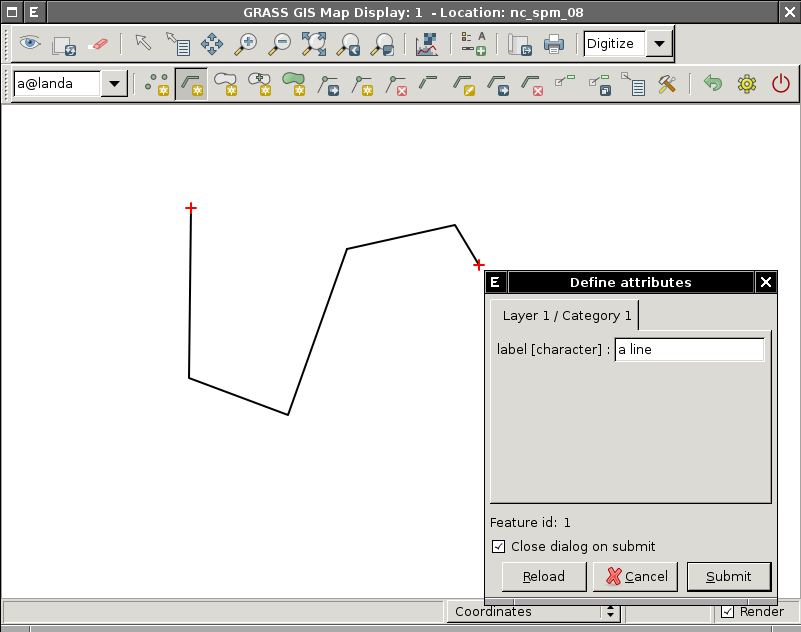
Line
Mouse buttons functionality:
- Left
- Add new vertex on given position
- Right
- Write out the new line with given number of vertices
- Control+Left
- Remove last added vertex from the line

Boundary
Mouse buttons functionality:
- Left
- Add new vertex on given position
- Right
- Write out the new boundary with given number of vertices
- Control+Left
- Remove last added vertex from the boundary
