WxGUI Vector Digitizer: Difference between revisions
Jump to navigation
Jump to search
(→Area) |
No edit summary |
||
| Line 66: | Line 66: | ||
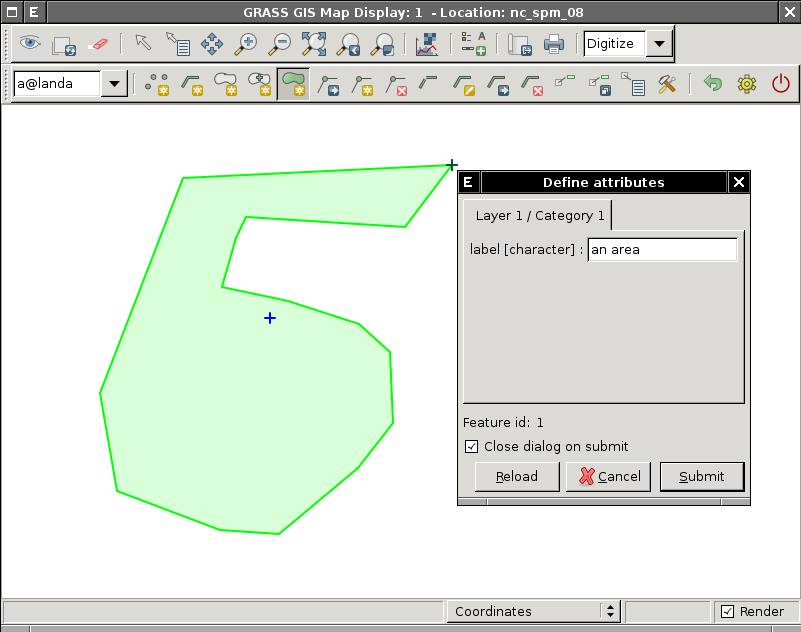
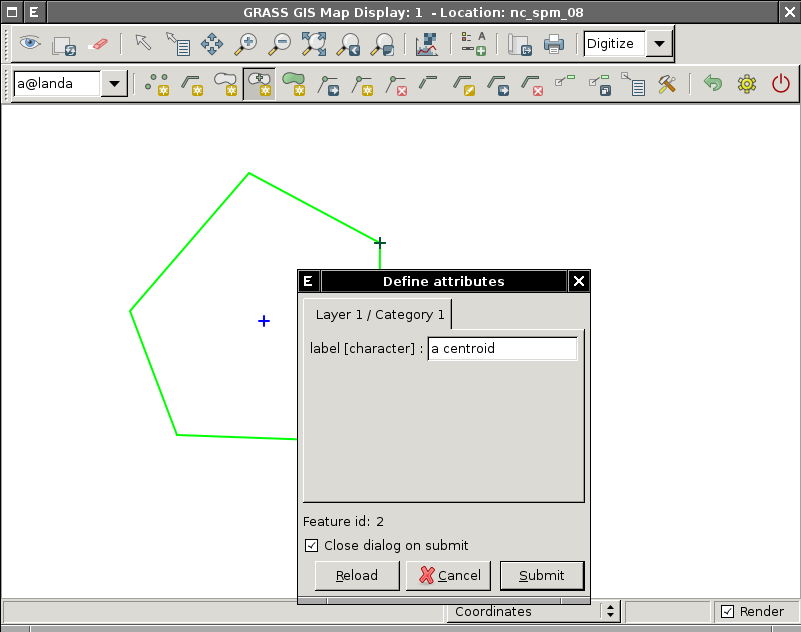
[[Image:wxgui-vdigit-add-area.png|thumb|center|400px|wxGUI vector digitizer - add new area and define it's attributes]] | [[Image:wxgui-vdigit-add-area.png|thumb|center|400px|wxGUI vector digitizer - add new area and define it's attributes]] | ||
== Modifying vertices == | |||
=== Add new vertex === | |||
=== Remove existing vertex === | |||
=== Move existing vertex === | |||
Revision as of 22:39, 3 February 2011
This page covers core functionality of wxGUI vector digitizer and also explains it's usage for newcomers.
Adding new features
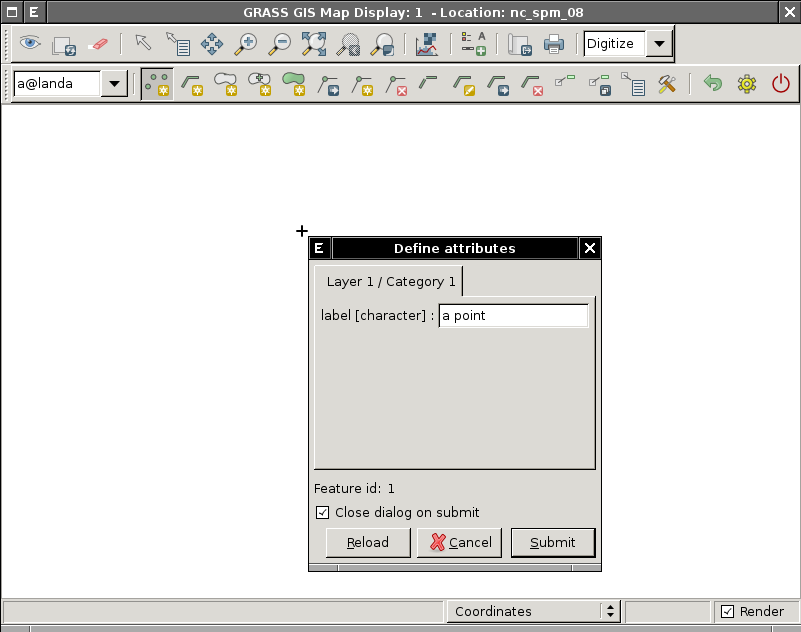
Point
Mouse buttons functionality:
- Left
- Add new point on given position
Line
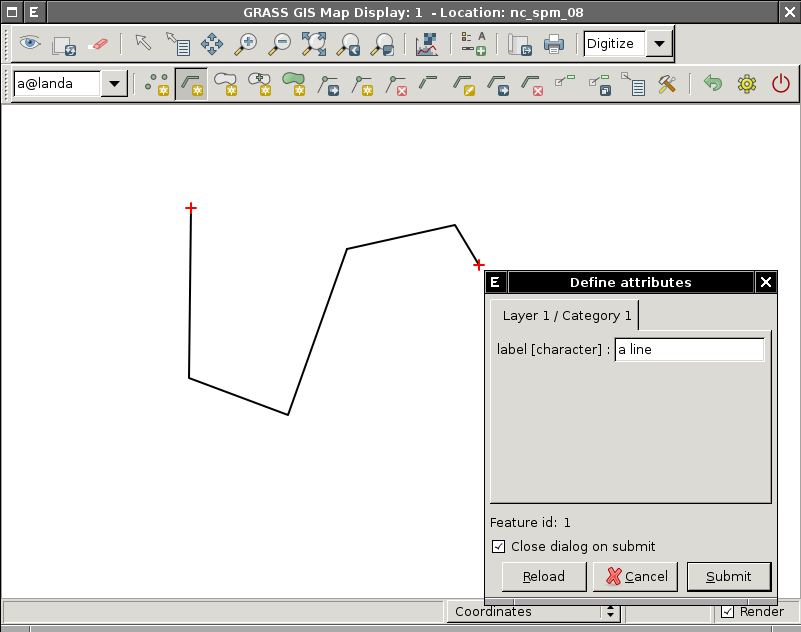
Mouse buttons functionality:
- Left
- Add new vertex on given position
- Right
- Write out the new line with given number of vertices
- Control+Left
- Remove last added vertex from the line
Boundary
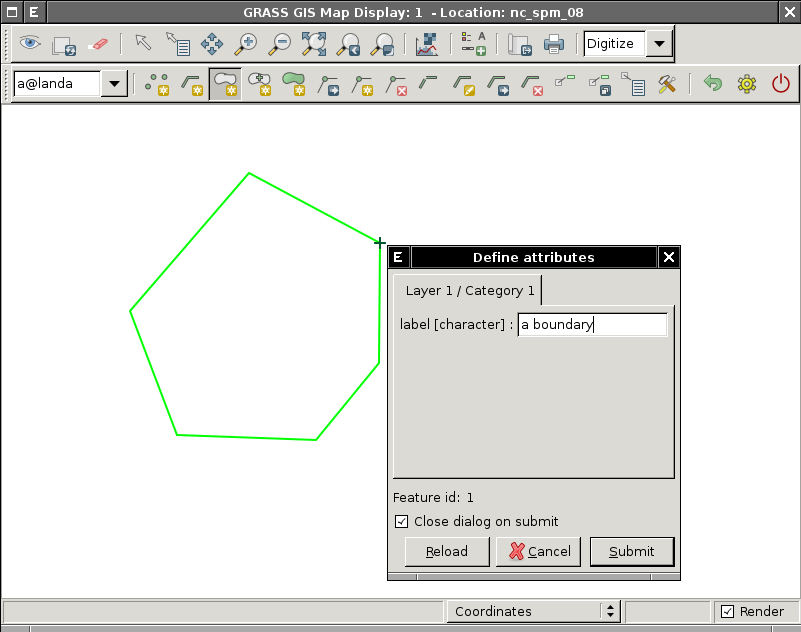
Mouse buttons functionality:
- Left
- Add new vertex on given position
- Right
- Write out the new boundary with given number of vertices
- Control+Left
- Remove last added vertex from the boundary
Centroid
Mouse buttons functionality:
- Left
- Add new centroid on given position
Area
This functionality combines adding new boundary without category and optionally centroid(s) with category defining new area(s). If the newly added boundary defines an area or two areas on the left and right from the boundary it will also add new centroid(s) which define the newly created area(s).
Mouse buttons functionality:
- Left
- Add new vertex on given position
- Right
- Write out the new boundary with given number of vertices
- Control+Left
- Remove last added vertex from the boundary
