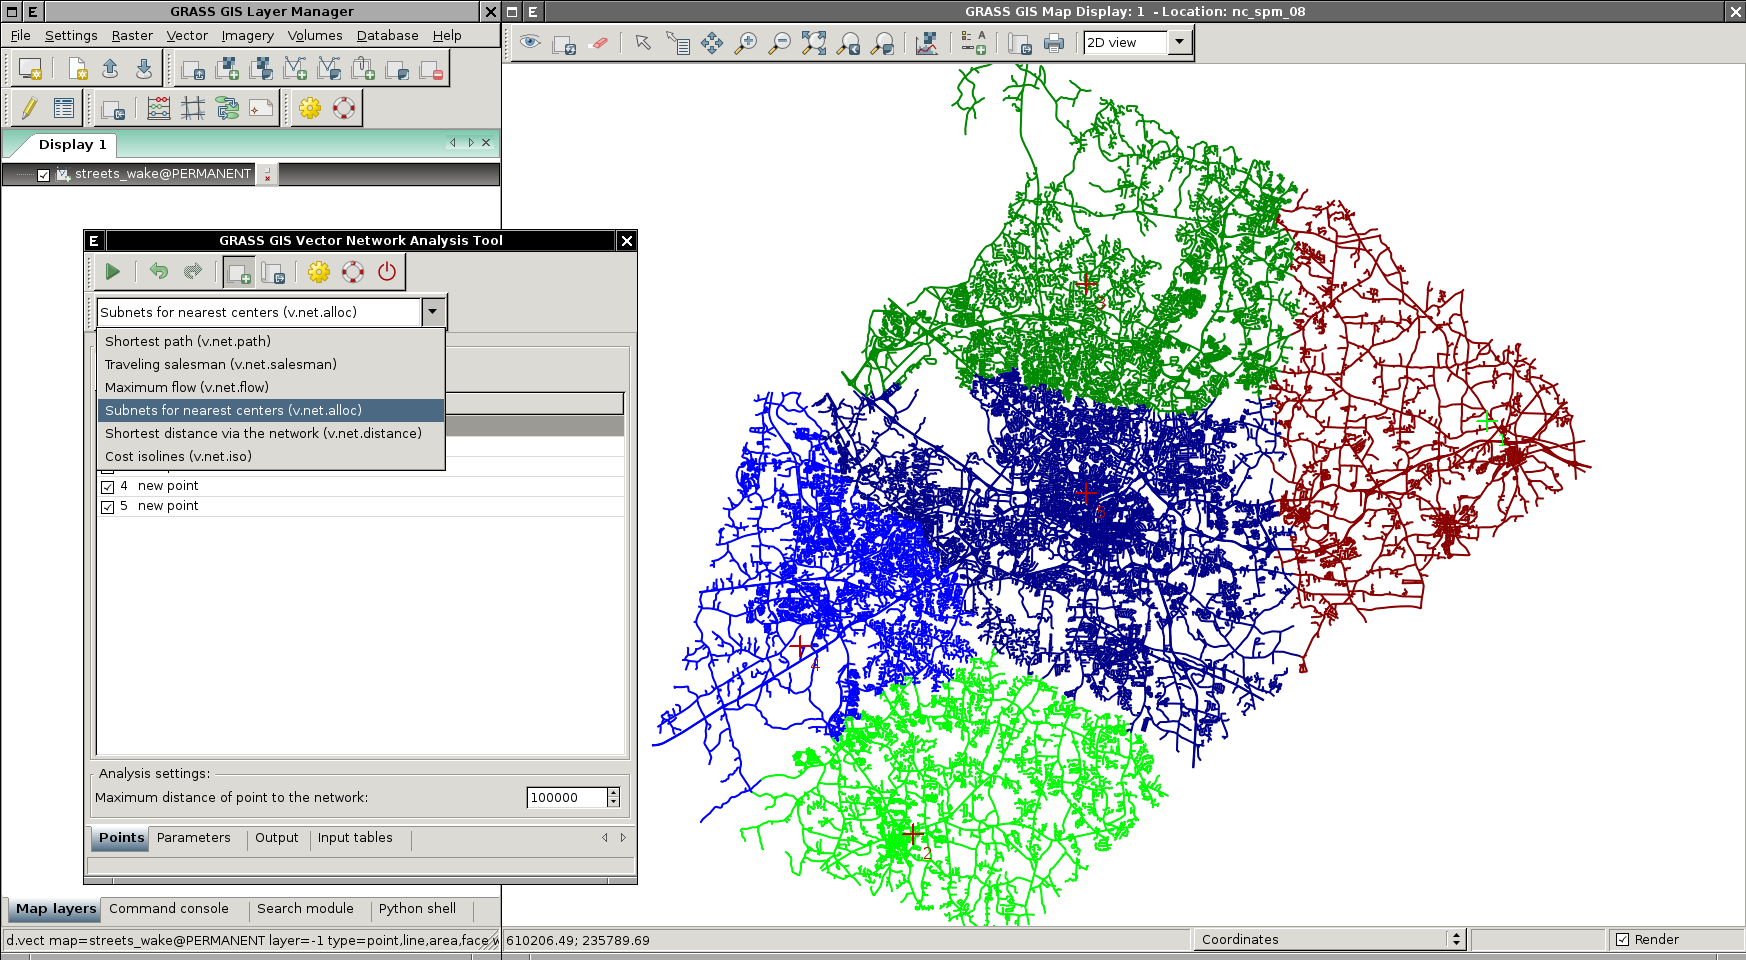
WxGUI Vector Network Analysis Tool: Difference between revisions
mNo edit summary |
|||
| Line 1: | Line 1: | ||
{{wxGUI}} | {{wxGUI}} | ||
'''Note:''' This [[wxGUI]] extension is available only | '''Note:''' This [[wxGUI]] extension is available only in GRASS 7. | ||
This tool has been developed within Google Summer of Code 2012, see related [[GRASS GSoC 2012 WxGUI front end for vector analysis modules|wiki page]] for details. | This tool has been developed within Google Summer of Code 2012, see related [[GRASS GSoC 2012 WxGUI front end for vector analysis modules|wiki page]] for details. | ||
Revision as of 18:17, 3 January 2013
Note: This wxGUI extension is available only in GRASS 7.
This tool has been developed within Google Summer of Code 2012, see related wiki page for details.
Installation
1. Install wx.vnet extension via g.extension
g.extension -s extension=wx.vnet
2. Go to Map Display Window and choose 'Vector network analysis' from 'Analyze' menu


Video tutorial
The tutorial is based on example at v.net.path manual page.
If you want to follow the tutorial on your computer download SPEARFISH data set and copy directory spearfish60 into your GIS Data Directory. When launching GRASS choose location spearfish60 and mapset user1.
Before you start work with Vector Network Analysis Tool you have to apply these commands in order to be able to follow tutorial video:
v.category in=roads out=myroads opt=add cat=1 layer=3 type=line

v.db.addtable myroads layer=3 col="cat integer,label varchar(43)"

v.to.db myroads layer=3 qlayer=1 opt=query qcolumn=label columns=label
Now you have created same myroads vector map as is used in the video tutorial.